
Most visitors arrive at Salar de Uyuni chasing the mirror effect or the cactus islands. The ground itself, the cracked, geometric, almost brutalist surface beneath your feet, is the detail that serious photographers keep coming back for. These eight specific formations and zones reward anyone willing to get low, get patient, and actually look down.
1. The Central Polygon Field Near Colchani
The classic entry point from Colchani is where the hexagonal crust is at its most pronounced and most consistent. The salt here has had centuries to crystallize into near-perfect six-sided cells, each one rimmed by a raised ridge that catches raking light beautifully in the early morning. What makes this zone special is the scale: the polygons run from about one meter across up to roughly three meters, which means you can shoot a single cell as an intimate abstract or pull back and let the repeating pattern dissolve into the white horizon. Get here within the first hour after sunrise when the sun is still low and the ridges cast hard shadows across the flat surface. Midday turns everything into a featureless white glare, and the texture disappears entirely.
2. The Cracked Dry-Season Edges Near the Salar’s Eastern Shore
Toward the eastern fringe of the salar, where the water table sits slightly higher, the drying cycle produces a different kind of pattern. Instead of clean hexagons, you get a layered crust that curls and peels at its edges, almost like old paint on a wall, revealing the brown-grey mineral strata underneath. It is genuinely ugly in the most photogenic way possible: the contrast between the brilliant white surface and the raw, rust-toned subsurface creates a palette that feels more like a studio composition than a natural landscape. Walk slowly here and watch where you step, because the curled edges are fragile and the ground can be softer than it looks. The best frames are tight, almost macro, with a wide aperture to blur the horizon and keep all the attention on the texture at your feet.
3. The Salt Mounds of Isla Incahuasi’s Shoreline
Isla Incahuasi is the famous cactus island, but the salt formations at its immediate waterline are almost entirely ignored. Where the island’s rocky base meets the flat, crystalline salt, the crust buckles and heaps into low, irregular mounds, some only knee-high, others closer to waist height. The visual effect is architectural: it looks like a ruined low wall or a series of collapsed columns, especially when the morning light hits from the east and the shadow relief becomes dramatic. Shoot from a very low angle, almost with the camera on the ground, and frame the mounds against the island’s giant cacti in the background. Arrive before the first tour groups, which in high season tend to reach the shoreline by mid-morning, because foot traffic breaks up the fragile crust surface fast.
4. The Wind-Sculpted Ripple Zones of the Southwestern Flat
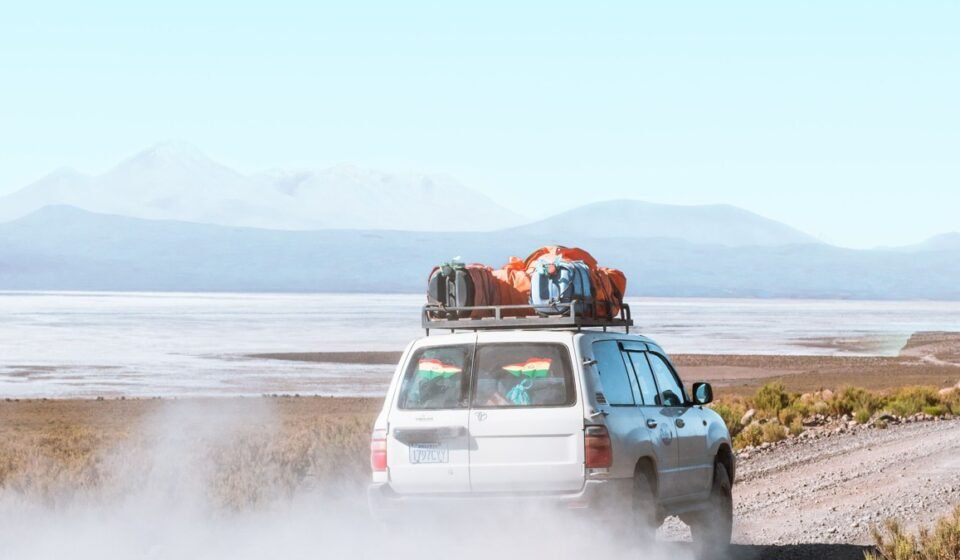
Out in the deeper southwest, far enough from the main tourist routes that you genuinely need a knowledgeable driver and a solid vehicle, the salt surface develops a ripple texture driven by prevailing winds carrying fine mineral dust. These are not the clean hexagons of the central zones. The surface here looks almost dune-like, with soft undulations running in parallel lines that shift direction subtly over hundreds of meters.
Think of it as a large-scale piece of accidental land art. The ripples were not shaped by any single event but by months of wind pressure working across a surface with almost no friction to redirect it, which is exactly what gives them their uncanny regularity. In the last forty-five minutes before sunset, that regularity becomes the image: the raking light turns each undulation into a dark line against a bright crest, and the whole field reads as a hand-drawn topographic map, perfectly even, slightly unreal. The shapes are not exotic enough to be immediately legible as salt, which is precisely what makes the photograph interesting. The viewer has to work out what they are looking at, and that pause is what stops a scroll.
The trade-off is logistics: you need a full day out and a driver who knows the southwest circuits well.
5. The Transition Zone at the Salar’s Water Edge (Wet Season Margin)
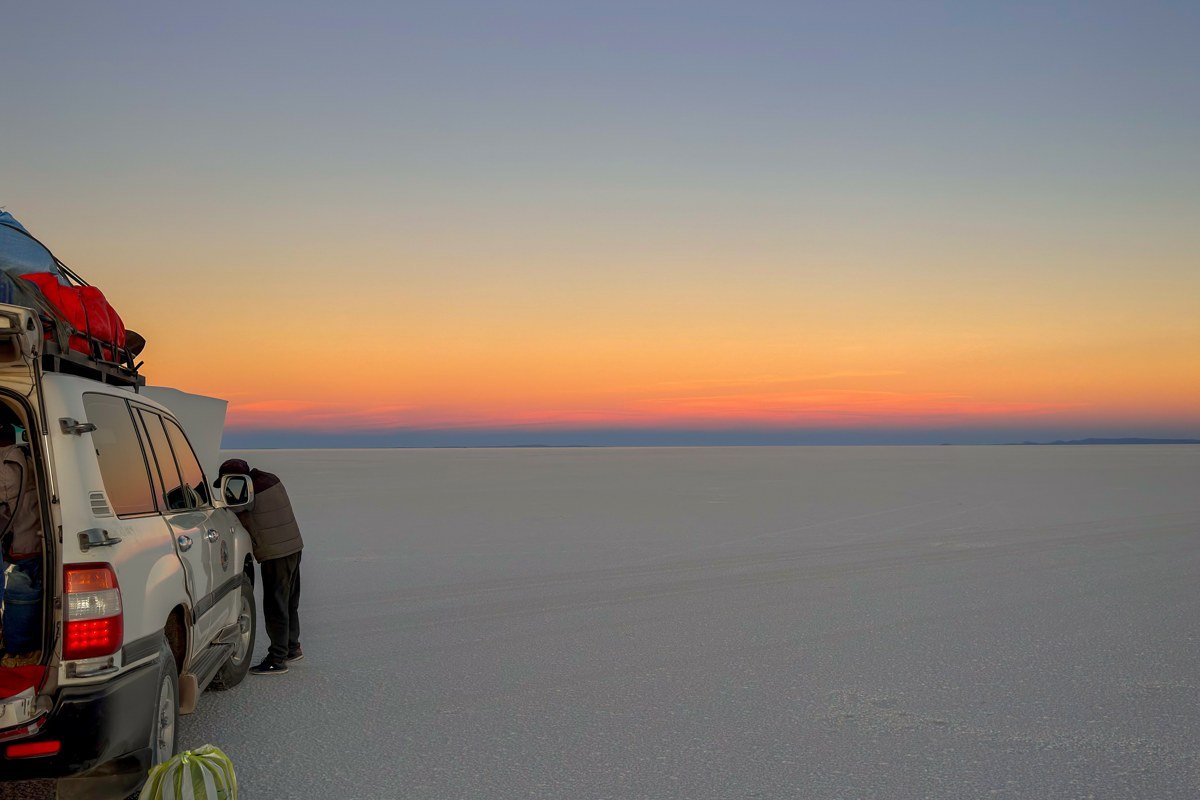
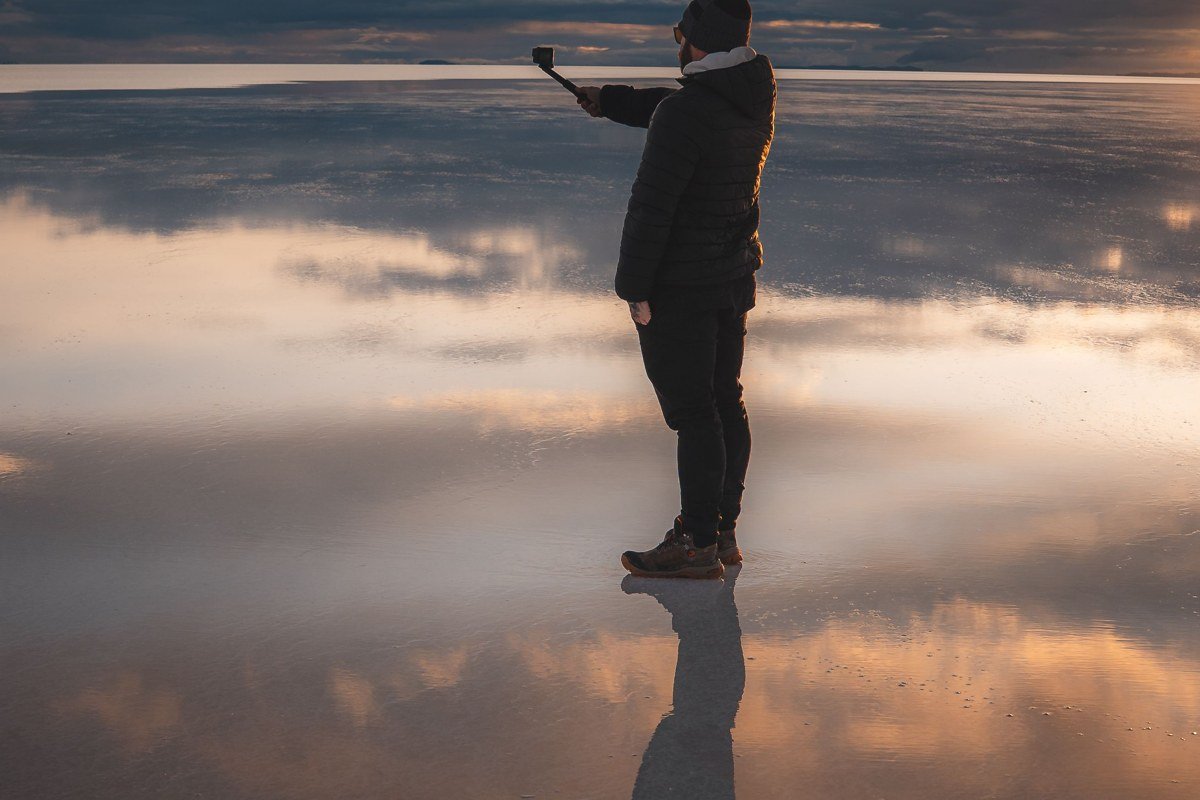
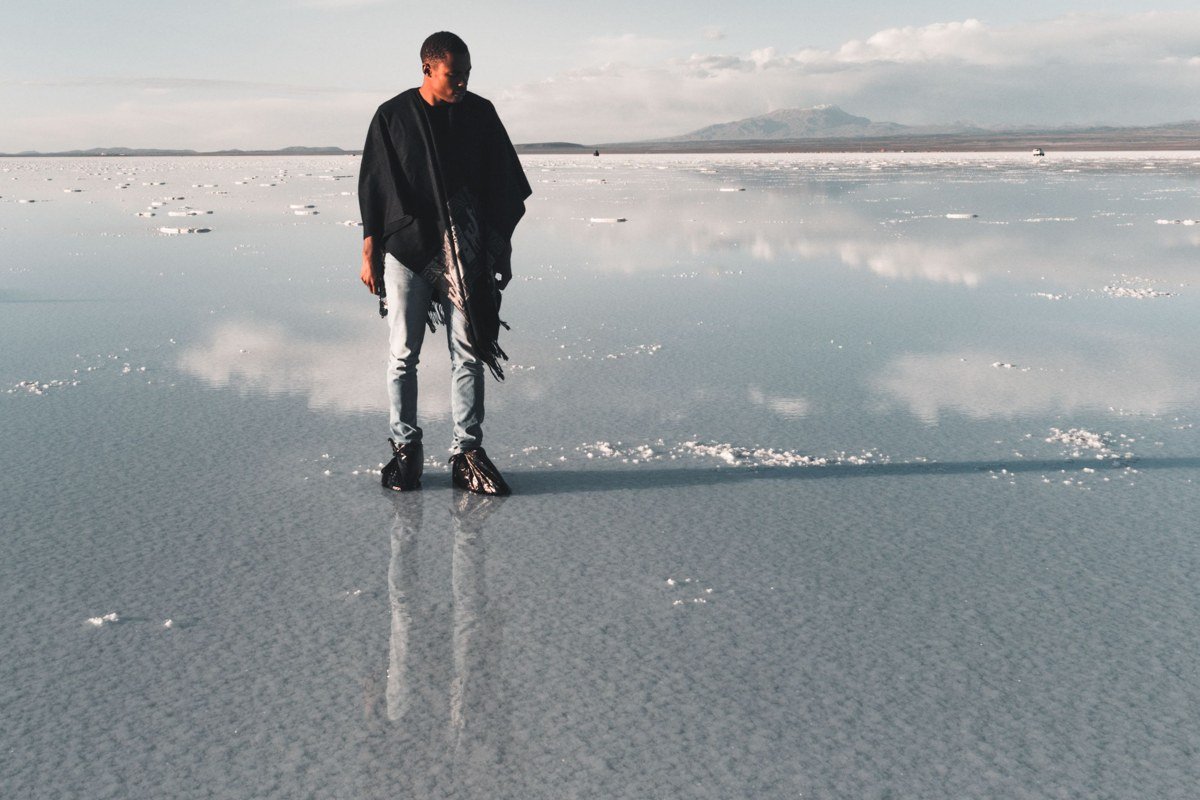
During the wet season, roughly December through March, the water layer that creates the famous mirror effect is often a few centimeters deep. But at the margins, where the water is retreating or still arriving, you get something more specific and more strange: partially submerged hexagonal cells, their ridges just breaking the surface, with water pooled inside each polygon like a tiny individual mirror. The image reads as an infinite grid of small reflecting hexagons, the geometry shifting slightly depending on where you stand and which cell field you are over. It is one of the most surreal things the salar produces, and it requires no special equipment beyond willingness to get your boots wet. A polarising filter helps cut surface glare and reveals the submerged crust structure beneath.
6. The Salt Extrusion Towers Near the Tahua Shoreline
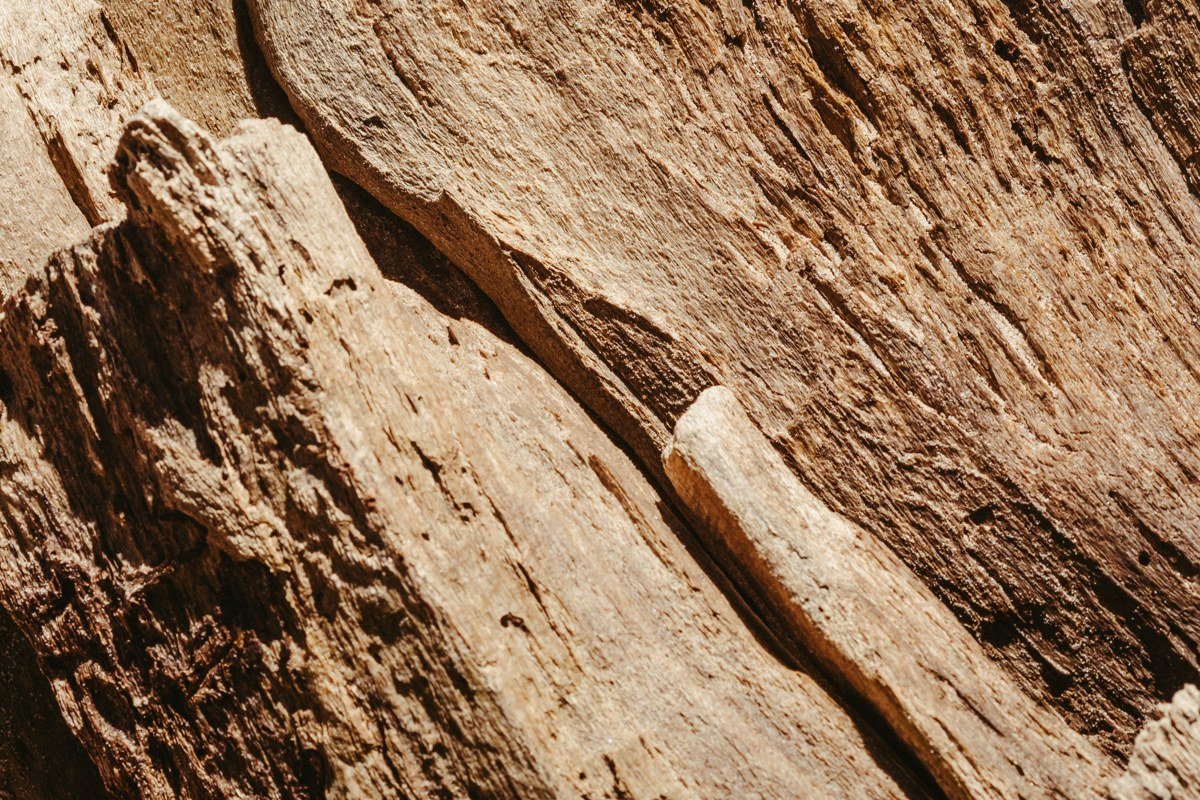
Along the northern edge near the small village of Tahua, brine forces its way up through fissures in the crust and evaporates on the surface, building small, irregular towers and knobs of crystallized salt. They are rarely more than thirty centimeters tall, and most visitors walk right past them assuming they are random debris. In reality they are active geological formations, still growing, and the surface texture of each one is extraordinary under a macro lens: layered, sparkling, almost like a miniature mineral cave turned inside out. The Tahua shore also offers a cleaner background than the Colchani side because there is less vehicle traffic, so your shot does not have tire tracks running through the middle distance.
7. The Red-Tinged Algae Patches at the Salar’s Southern Lagoon Border
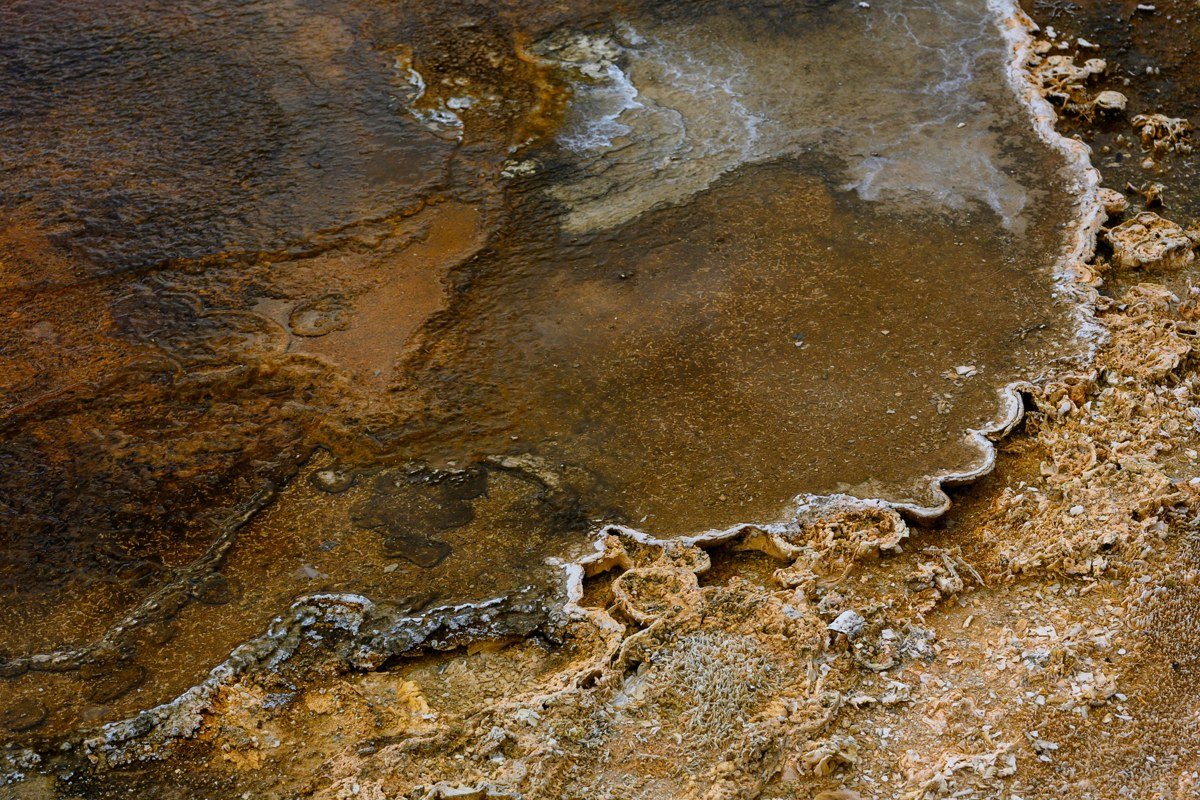
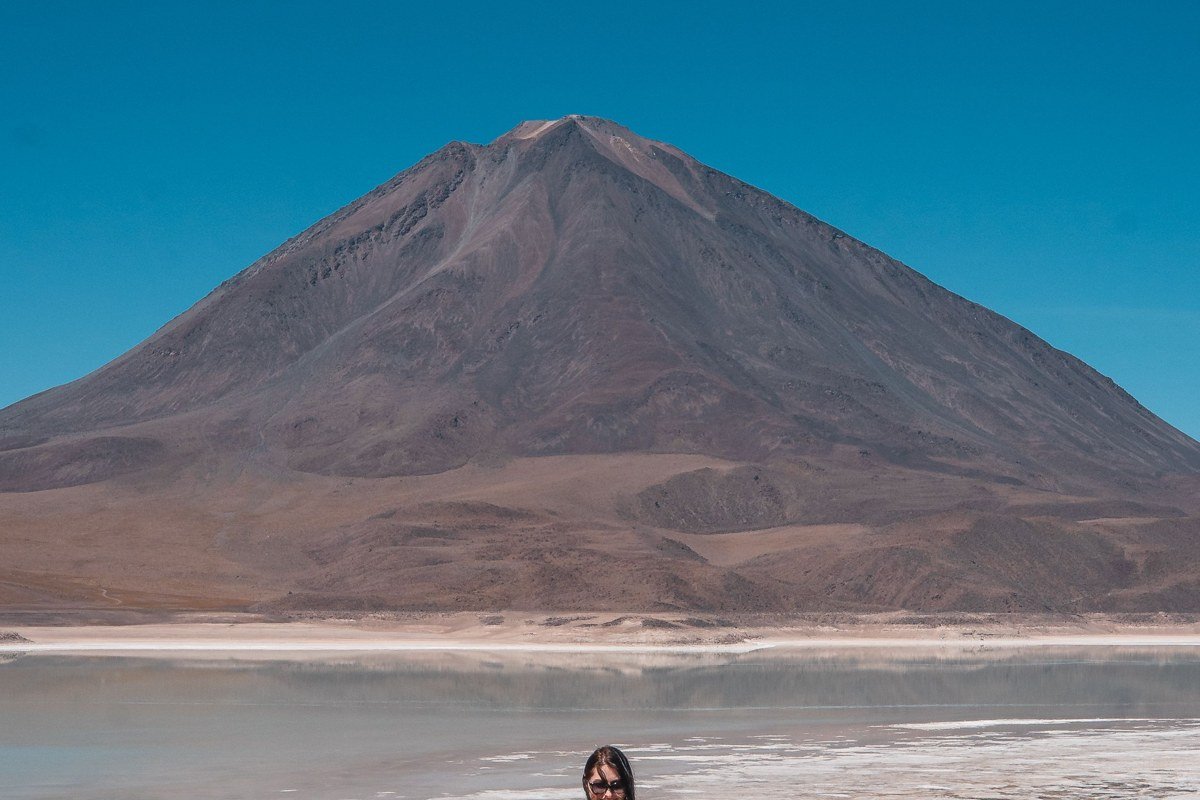
At the far south, where the salar begins to give way to the high-altitude lagoons and volcanic terrain of the Eduardo Avaroa Andean Fauna National Reserve, the salt surface picks up faint pink and rust staining from wind-carried algae and mineral deposits. The hexagonal pattern is still present here, but the color shifts the entire mood of the image from stark white minimalism to something warmer and harder to place.
The light temperature in this zone runs noticeably amber even at midday, partly because of the altitude and partly because the surrounding terrain absorbs and radiates differently than the open flat. The volcanic hills in the background profile as smooth, broad cones in deep violet-brown, nothing like the jagged ridgelines you find further north. That combination, warm-toned rust crust in the foreground, rounded volcanic silhouettes behind, sits in a color register that most viewers cannot immediately locate geographically. Pair that visual with the patterned crust and the image earns genuine attention.
The honest caveat: this zone requires the better part of a full day’s drive from Uyuni town, so it sits inside a multi-day tour circuit rather than a day trip. Entry to the Eduardo Avaroa reserve currently runs around 150 BOB per person (approximately 20 USD), though it is worth confirming the current rate with your operator before departure.
8. The Salt Flat’s Night Surface Under a Full Moon
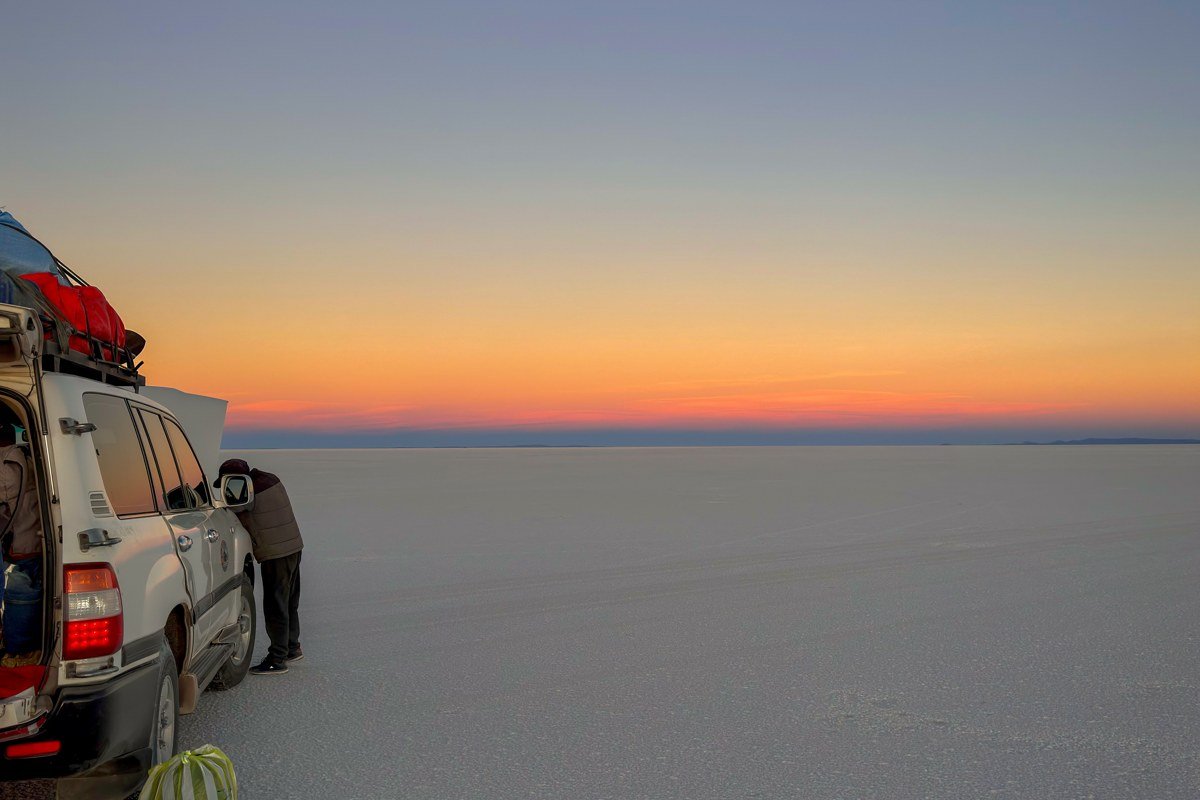
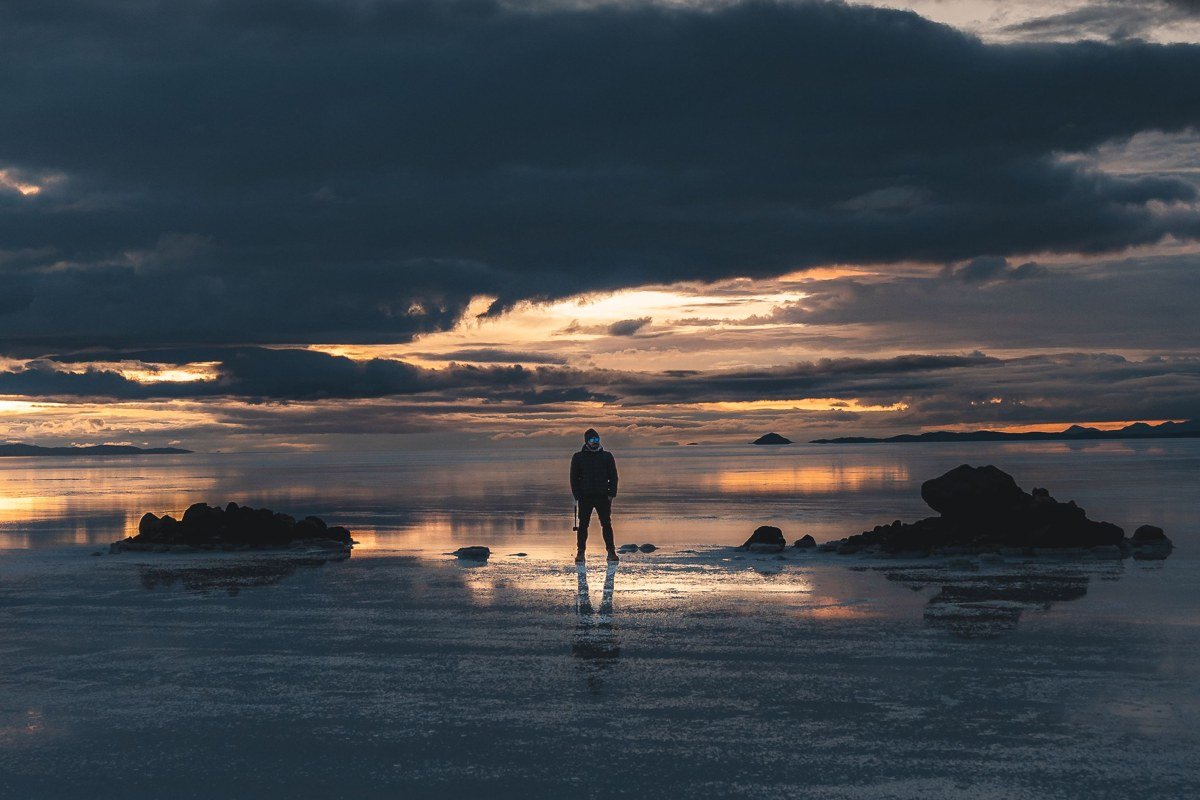
The hexagonal ground pattern does not disappear at night. Under a full moon, the raised ridges of each polygon cast faint but visible shadows across the white surface, turning the entire flat into something that resembles a moonlit tile floor on an impossible scale. Long exposures of twenty to thirty seconds pick up the geometry clearly, and the blue-black sky reflecting faintly in any residual moisture gives the image a cool, luminous quality that no midday shot can produce.
The practical challenge is temperature: it drops hard at this altitude (around 3,656 meters), sometimes to minus fifteen Celsius or below on clear nights. Battery life plummets in those conditions, so carry your spares inside your jacket and bring more layers than you think you need.
Practical Takeaway
Salar de Uyuni rewards obsessive specificity more than any other landscape destination in South America. The difference between a forgettable wide shot and an image that genuinely stops a scroll is almost always about proximity to the ground and time of day. Here is what to act on immediately when planning a trip:
- Book a dry-season visit (May through November) if you want the sharpest hexagon detail and maximum texture shadow. Book a wet-season visit (December through March) if you want the mirror reflection combined with partially submerged crust patterns.
- Hire a driver-guide who does not rush the central zone. The photographic gold is in the early morning, and many standard tours arrive when the light is already flat.
- Pack knee pads or a foam pad. Serious ground-level compositions require you to lie flat on the salt, and the crust surface is surprisingly rough on bare skin and clothing.
- A polarising filter is not optional. It is the single most useful piece of glass you can bring for cutting glare and revealing subsurface detail in the shallow-water zones.
- The south of the salar (Tahua, the lagoon borders, the volcanic transition) almost always requires at least a three-day circuit. Budget accordingly and do not try to compress it into a rushed turnaround. Uyuni town is the standard base for this circuit, and when vetting a guide, ask specifically which southwestern route they run and what time they plan to reach the ripple zones. A guide who names a specific landmark or gives you a departure window before eight in the morning is worth the extra conversation. One who answers vaguely and pivots to the mirror photos probably runs a condensed route that skips the best texture zones entirely.
The patterns are there every single day. The only variable is whether you take the time to look at the floor.